In this guide, we’ll walk you through the steps to seamlessly connect quizzes created via the Recomma Quiz Builder Shopify app with Mailchimp. Mailchimp is a powerful email marketing platform that enables businesses to send automated emails, newsletters, and personalized campaigns.
With the Mailchimp integration, you can automatically add quiz takers to your email lists and run targeted marketing campaigns.
Ready to get started? Let’s dive into the steps to set up the Mailchimp integration!
Getting Started: How to Get Your API Key and Username #
Before connecting Mailchimp to Recomma, you’ll need to get your Username and Mailchimp API Key. Follow these steps:
1. First, ensure you have a Mailchimp account. If you don’t have one yet, sign up here. If you already have an account, log in via this link.
2. Once logged in, click on your profile icon in the upper right corner and go to Profile.
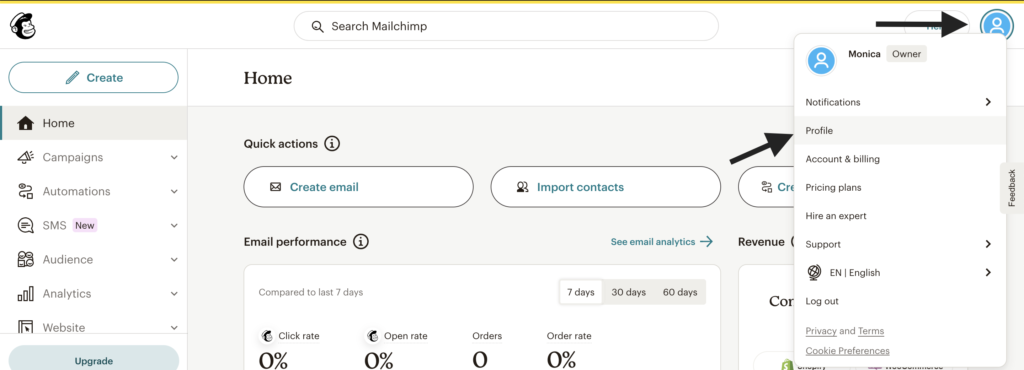
3. Scroll down to the Basic Information section, where you’ll find your Mailchimp account username.

4. Then, navigate to the Extras tab and select API Keys from the dropdown menu.
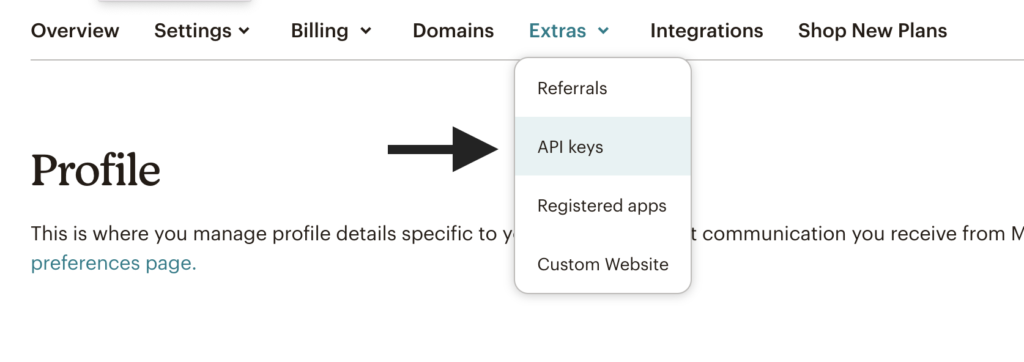
4. Scroll down to the Your API Keys section and click on Create A Key.
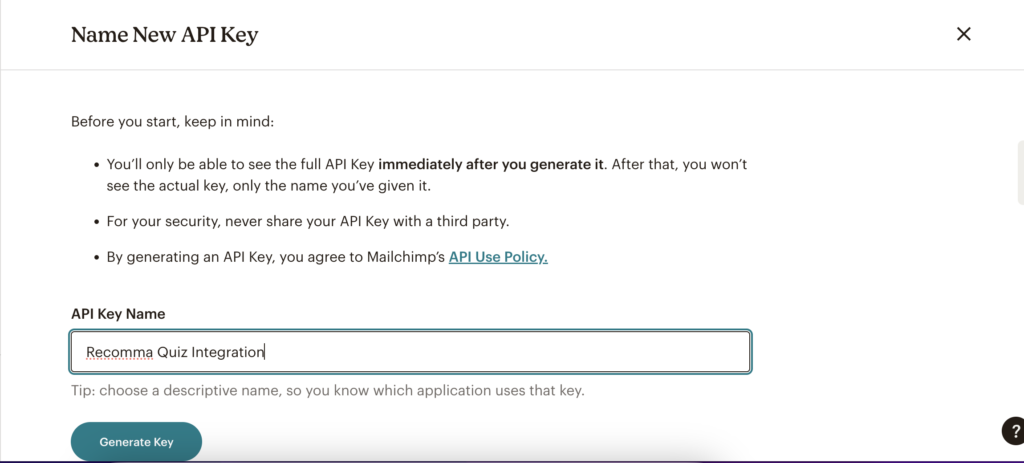
5. Give your API key a name (e.g., “Recomma Quiz Integration”) and copy the generated key. This key will be used to connect Recomma to Mailchimp. As Mailchimp states, you won’t be able to see or copy this API key again. Save it somewhere secure, or use it to connect your application right away.
How to Connect Mailchimp to Recomma Quiz Builder #
To connect Mailchimp with Recomma Quiz Builder, simply paste your Username and API key into the Recomma settings. Follow the steps below to complete the process smoothly.
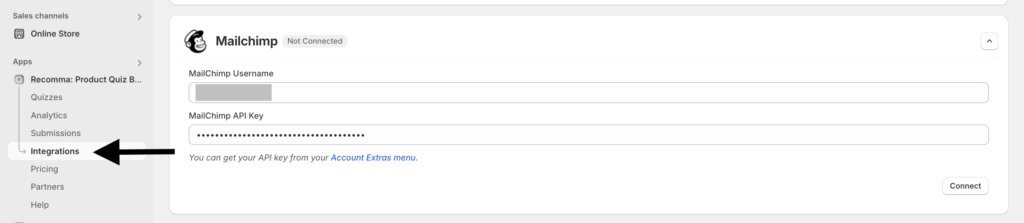
1. Go back to the Recomma Dashboard and open the Integration section from the menu.
2. Find Mailchimp in the list of available integrations. Paste your Username and Mailchimp API Key into the provided field and click Connect.
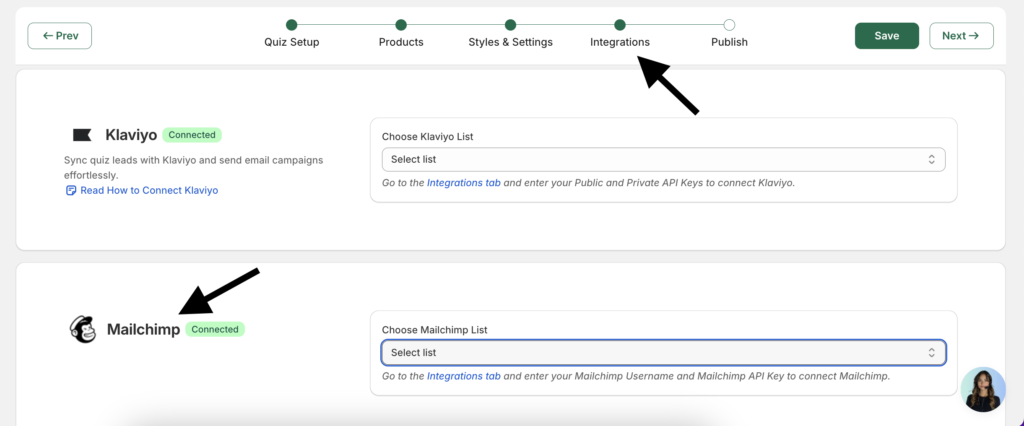
3. Once connected, go to the Quizzes, then the specific quiz settings you want to connect.
4. Open the Integrations tab, select the Mailchimp audience (list) where you’d like to add your leads, and save the changes.
Tip: Make sure your quiz includes an email question type to collect users’ email addresses. Without it, no leads will be sent to Mailchimp.
You Did It!
Your quiz is now connected to Mailchimp, meaning all leads will automatically sync to your selected email list. Now you’re ready to launch email campaigns and engage your audience more effectively.


